To understand how automatic dimensional control became necessary we must first mention the reverse design which can be considered the largest part of the reverse engineering process.
The reverse design is the process of creating a 3D virtual model using computer software (CAD) from an existing physical object. It can be used as a design tool to make a copy, export design features, or redesign an existing part of the object. More specifically, it is characterized as the process of disassembly and reproduction of an object functionally and dimensionally, to fully describe its function, examining and analyzing its components. The aim is to research and develop technical data on all its material and physical characteristics, even when the data are non-existent, incomplete, outdated and intermittent. The use of laser machines and Coordinate Measuring Machines – CMM plays a leading role in achieving automatic dimensional control as described below.
Laser scanners
In recent years touch sensors are widely used in the industry this is because they can provide measurements with great accuracy and quality and that is why they are so widespread. There are also contactless sensors and this is because there are applications that it is not possible to use the sensors of touch sensors are mainly used to make measurements on objects that are small and flexible therefore, I have no other use for another type of sensor.
We have two major categories of sensors the video sensors and the sensors with laser problems.
Its main advantage over touch sensors is the high speed I have in the measurements the laser sensors receive a ray of light which strikes the measuring surface of the object the distance of its head to the laser from the measuring point is known as the active distance position, the representative beam is identified trigonometrically.
With the help of a lens built into the sensor receiver, the position of the measuring point of the laser sensor can be done up to 200 measurements per second with an accuracy of up to 2.54mm. Proper lighting can collect several measured points with an image capture resulting in amplification and conversion into an electronic form where the characteristics of the object are measured with electronic image plates (pixels).
Both touch sensors and non-contact sensors are classified into two major categories: point detection systems and point scanned systems.
Coordinate measurement systems measured by object scanning are divided into four categories according to the number of dimensions in which the measurement is performed, namely 1) point scan, 2) laser line scan, 3) input friction projection systems, and 4) axial tomography. So it is instructive to describe the coordinate measurement systems.
CMM (Coordinate Measuring Machines)
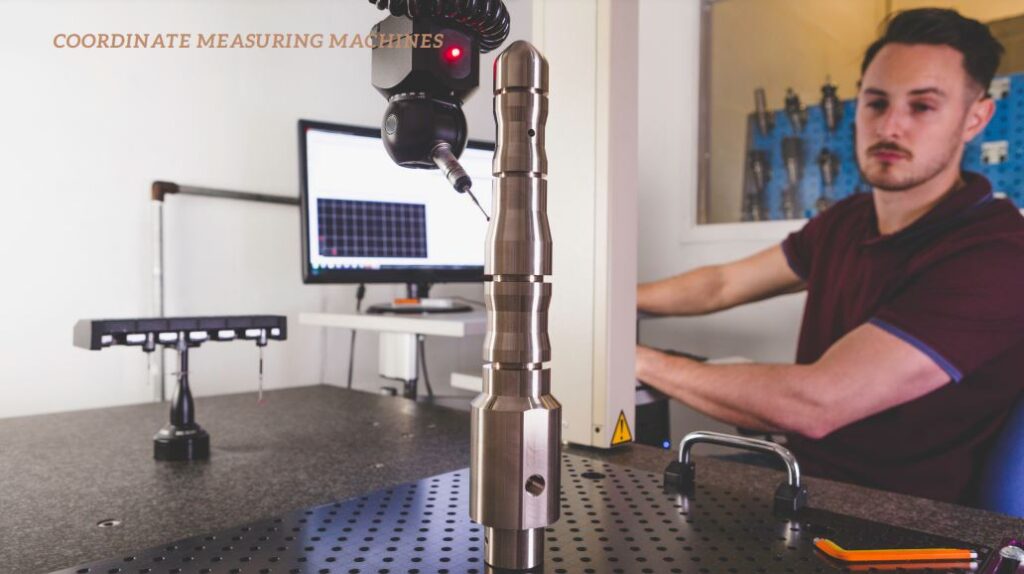
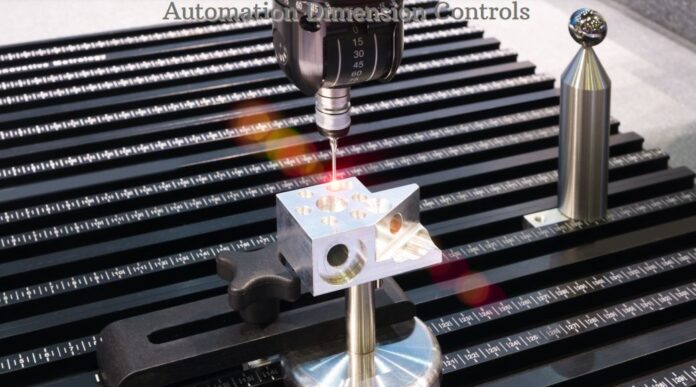
Automatic dimensional control is the evaluation of objects with free-form surfaces through digital analysis using Coordinate Measuring Machines (CMM). Coordinate measuring machines are made in many different configurations, each of which offers different advantages and is used depending on the application.
All these machines have structural elements and the ability to move the sensor to move the three vertical axes where each axis is installed with a precision scale metric device these texts are the sensor (Prove), the mechanical construction the data management and control system and metering software.
The available types of coordinate measuring machines are categorized based on the following:

- The principle of operation of the point sensor. The sensors can be categorized into mechanical sensors continuous or point contact drones that come into contact with the measured part.
- The construction configuration and the size of the useful measuring space of the machine, the characteristics of the Controller manual semi-automatic and fully controlled by computer (Direct computer control DCC) machines with an integrated system of compensation of temperature changes in the real-time possibility of data management by the digital scan.
- Features of the metering software: There are many possibilities such as the introduction of a 3D electronic model of the controlled component to automate the production of metering programs, the integration of digital scanning algorithms, standalone software units for specialized meteorological applications and finally, their ability to move: they are distinguished in fixed and portable machines.


